A Beginner YouTuber's Guide to Planning and Shooting Travel Vlogs (feat. AI Vlog Editing)
Want to run a YouTube channel seriously, but keep stalling out because the footage you shot doesn't feel right, or the editing process feels overwhelming? You're not alone.
You don't need professional training in filming or editing to get started. If you nail down your planning and shooting approach first, making a vlog becomes far easier. Here's a beginner-friendly guide to help you start consistently, without burning out.
1. Three things to decide before you shoot anything
Rather than grabbing a camera and hoping for the best, it helps to set clear milestones before you start. Break your YouTube production process into three categories:
- Planning: Nail down your topic, content, and the message you want to deliver. Notably, YouTube's algorithm currently tends to favor channels that go deep on a specific niche rather than covering broad, scattered topics (this can change over time).
- Shooting: Decide what gear you'll use, where you'll film, and what shooting style fits your vision.
- Uploading: Set your own deadlines so you don't delay posting while chasing perfection.
2. Seven shots every travel vlog needs
If you're making a travel vlog that follows a timeline, use these seven narrative beats as your baseline shot list. Structuring your footage this way makes both filming and editing much cleaner:
- Departure and prep: The airport, train station, the excitement of packing
- In transit: Scenery passing by the window, footage inside a moving car, walking shots
- Arrival: The entrance to your destination, signage, the first moment you step in
- Establishing shots: Wide shots that capture the overall mood of a space, or scenic landscape sweeps
- Key experiences and reactions: You experiencing the place, genuine reactions and conversation, unusual activities
- Detail shots: Close-ups of food, sentimental objects, or unique signs
- Wrapping up the day: Returning to your lodging, a sunset shot, a closing narration reflecting on the day
💡 A reference worth watching
Charles Enter, a Korean YouTube channel widely considered the gold standard for travel vlogging, is a useful reference to study before you start filming — it's worth watching once just to get a feel for tone and framing.
3. Hidden editing tips to keep your vlog from feeling flat
Editing with only your own raw footage can easily start to feel repetitive and lose its rhythm. Here are a few one-point tips to fix that:
- Vary your angles. A video that sticks to the same framing throughout gets boring fast. Cutting between wide shots and tight close-ups adds variety and instantly raises the production value.
- Use images or memes. Dropping in a well-placed meme or image that matches your footage adds a bit of fun for viewers. Inserting related photos from your destination can also make the video feel richer.
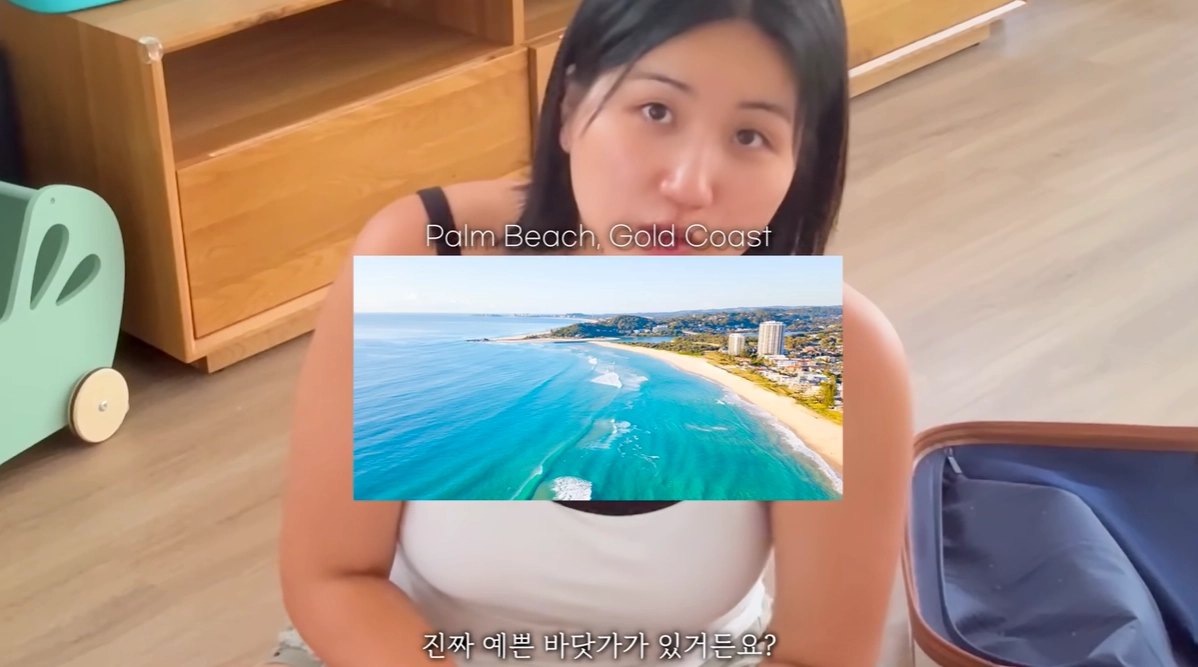
- Use speed changes (timelapse or fast-motion). Long, potentially boring stretches — commute time, waiting for food, walking — work well sped up 2–4x or as a timelapse. Turning simple transit footage into something snappier gives the whole video a better sense of pace.
- Keep real ambient sound in the mix. Background music running nonstop can wear viewers out. Lower the music slightly and let in real environmental sound — sizzling food, footsteps, waves — to make viewers feel like they're actually there.
💡 The "editing labor" everyone dreads
You planned well, shot a variety of angles, and even captured great ambient sound — but the moment you sit down at your computer, the motivation disappears.
Sorting through hundreds of clips one by one, listening to each, and picking the usable cuts can eat up hours. This "sorting and rough-cut" bottleneck is the single biggest reason beginner YouTubers burn out before finishing their first video.
What if that tedious, manual process could be cut down to a tenth of the time?
A finished travel vlog in 30 minutes: Heimlog
If messy file sorting and rough-cutting have been holding you back, Heimlog — an AI-powered vlog auto-editing platform — is built to solve exactly that.
- Automatic chronological sorting on upload: No manual file organizing needed. Just upload your clips, and they're automatically arranged by the time they were shot.
- Auto rough-cut editing: The AI picks out the genuinely usable moments from your long, unfiltered footage and assembles a natural first-cut edit.
- Finishing touches that add polish: From voice-recognition auto-captions to royalty-free BGM, you can wrap everything up in just a few clicks.
🎁 Pre-registration event, before Heimlog's official launch
Sign up now and get credits worth up to two free travel vlogs (100% covered) once Heimlog opens. It's the easiest, fastest way to finally turn all those travel clips sitting on your phone into a finished vlog.